Tag: Avid

Audio frame rate?

One of my editor friends asked me if audio doesn’t record in a frame rate, then why must we select a frame rate in Avid, while importing it. I think that’s a great question! Here’s my take on it.

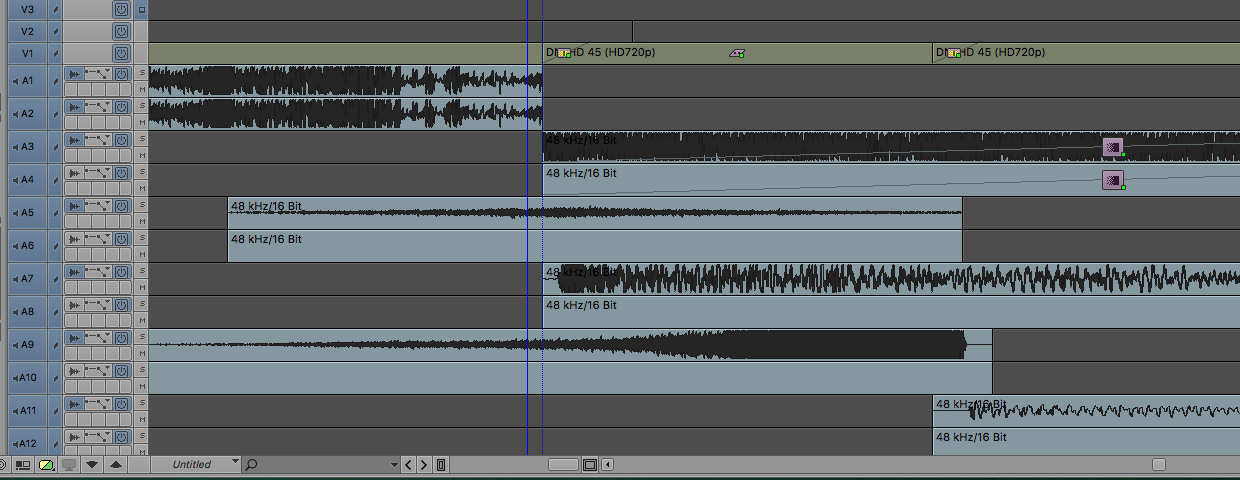
Video is recorded in frames per second, because a shutter actually opens and closes. On the other hand, when audio is recorded, it does not start, stop, start, stop, 24 times per second; however it recorded continuously. Audio frequency is recorded in a sample rate measured in kilo hertz for both analog and digital audio. This sample rate is usually 44.1 kHz or 48 kHz.

Regarding depth, digital audio depth is measured in bits. More bits = more information = more depth.

When you import audio into Avid, and it asks you what frame rate to bring it in as, that frame rate is really just an interpretation. This is because we need to edit video in frames per second. To edit the audio along with that video, Avid must translate the audio to frames per second. When editing audio in a DAW like Logic or Ableton, there are no frames. It’s just pure waveform put over a grid with a musical time signature like 4/4, and if you zoom in the timeline, you can see subdivisions like quarter notes, eighth notes, sixteenth notes. 
When editing audio in Avid or ProTools, we are also really looking at pure waveforms, but the audio is inside of a grid that we don’t see. That grid is frames per second.

Does that make sense? It might not now, but think on it for a bit, and it will click on inside of your mind! It took me a moment or two to get it. 🙂

Vignette in Avid Media Composer

How to create a vignette effect in Avid Media Composer

– Put video on V1
– On V2, make “add edits” on clip borders
– In effect palette, add the following effect:  Image> Paint Effect
– Open the Effect Editor
– Zoom out of image using the zoom tool on the right side of the Composer window

– Choose the Rectangle tool
– Set mode to “solid”
– Draw rectangle over image
– Choose color in Effect Editor (usually black)

– Now you can draw the vignette shape (usually with oval tool), so:
– Choose oval tool and set mode to “erase”
– Draw vignette shape
– Select “feathering” and “bias” to your taste

🙂  Charlie Kirby

Unlocking Avid bins on Unity

I’ve been working as an Assistant Editor/Junior Editor on an awesome TV documentary series.  Our storage workspaces are connected to an Avid Unity Connection Manager.  On Tuesday I worked in room A.  Then on Wednesday we moved to room B.  Since we are working on Avid Unity storage, this should be an easy transition.  However, the bins I created in room A were still locked to the user in room A, so I couldn’t use them in room B.  So here’s what I did to unlock those bins.  

I navigated in Windows to our project partition.  Then I opened our project folder and located the bin I wanted to unlock.  In this case, the locked bin was called “Accused”.  So I located the file named “Accused.lck”   Then I deleted the .lck files.  This is an Avid bin lock file.  (please see photo below).  After doing that, I went back into Avid Media Composer, and the bins were unlocked.  If they aren’t, then right click on each bin in the project and select “unlock bin”, and that should do it for you!  

Avid Bin Lock File

Please note:  DO NOT DELETE YOUR .avb files, as these are Avid bin files.  Just delete the .lck files.  

Still Specs for Scanning Images to use in Video Editing

Still Specs for Scanning Images to use in Video Editing
– Scan as close to 4000 pixels in either direction, without going over. For example, if you scan an 8.5” x 11” sheet of paper, it should be about 2909w x 4000h in total pixel count. This would be a dpi of about 363
– Avid and Final Cut Pro both have difficulty working with image sizes larger than 4000 pixels in any direction. 
– One dpi setting will not be useful for all scanned images. Please adjust your dpi so that is as close to 4000 pixels in either direction without going over. 
 – All images must be saved in RGB, not grayscale, CMYK or any color space other than RGB. Most systems will not be able to work with anything other than RGB color space. 
– File format should be either .tiff (TIFF) or .tga (Targa). 
– Tiff’s should be saved as 8bit, uncompressed, in Mac byte order. 
– Targas should be saved 32bit, uncompressed. 

This will produce and image file that can be used in SD or HD and be enlarged as much as 208% for HD and 555% for SD with out degradation. Also it will offer a format that is useful in, Final Cut Pro After Effects, Avid and a bunch of other software.